

Reduction printing is a technique I have been really worried about trying.
One of the things I love most about lino is being able to reproduce work. To make small amendments to the design after the first test print. It doesn’t matter if the first print is too heavy on the ink, or the paper moves when hand burnishing, and cutting it all away to nothing feels wasteful.
With a reduction print you don’t have that luxury of being able to go back to the beginning. The simplest way to ensure you get at least one good print is to do a good number of prints from the start. In this run I have done 10.
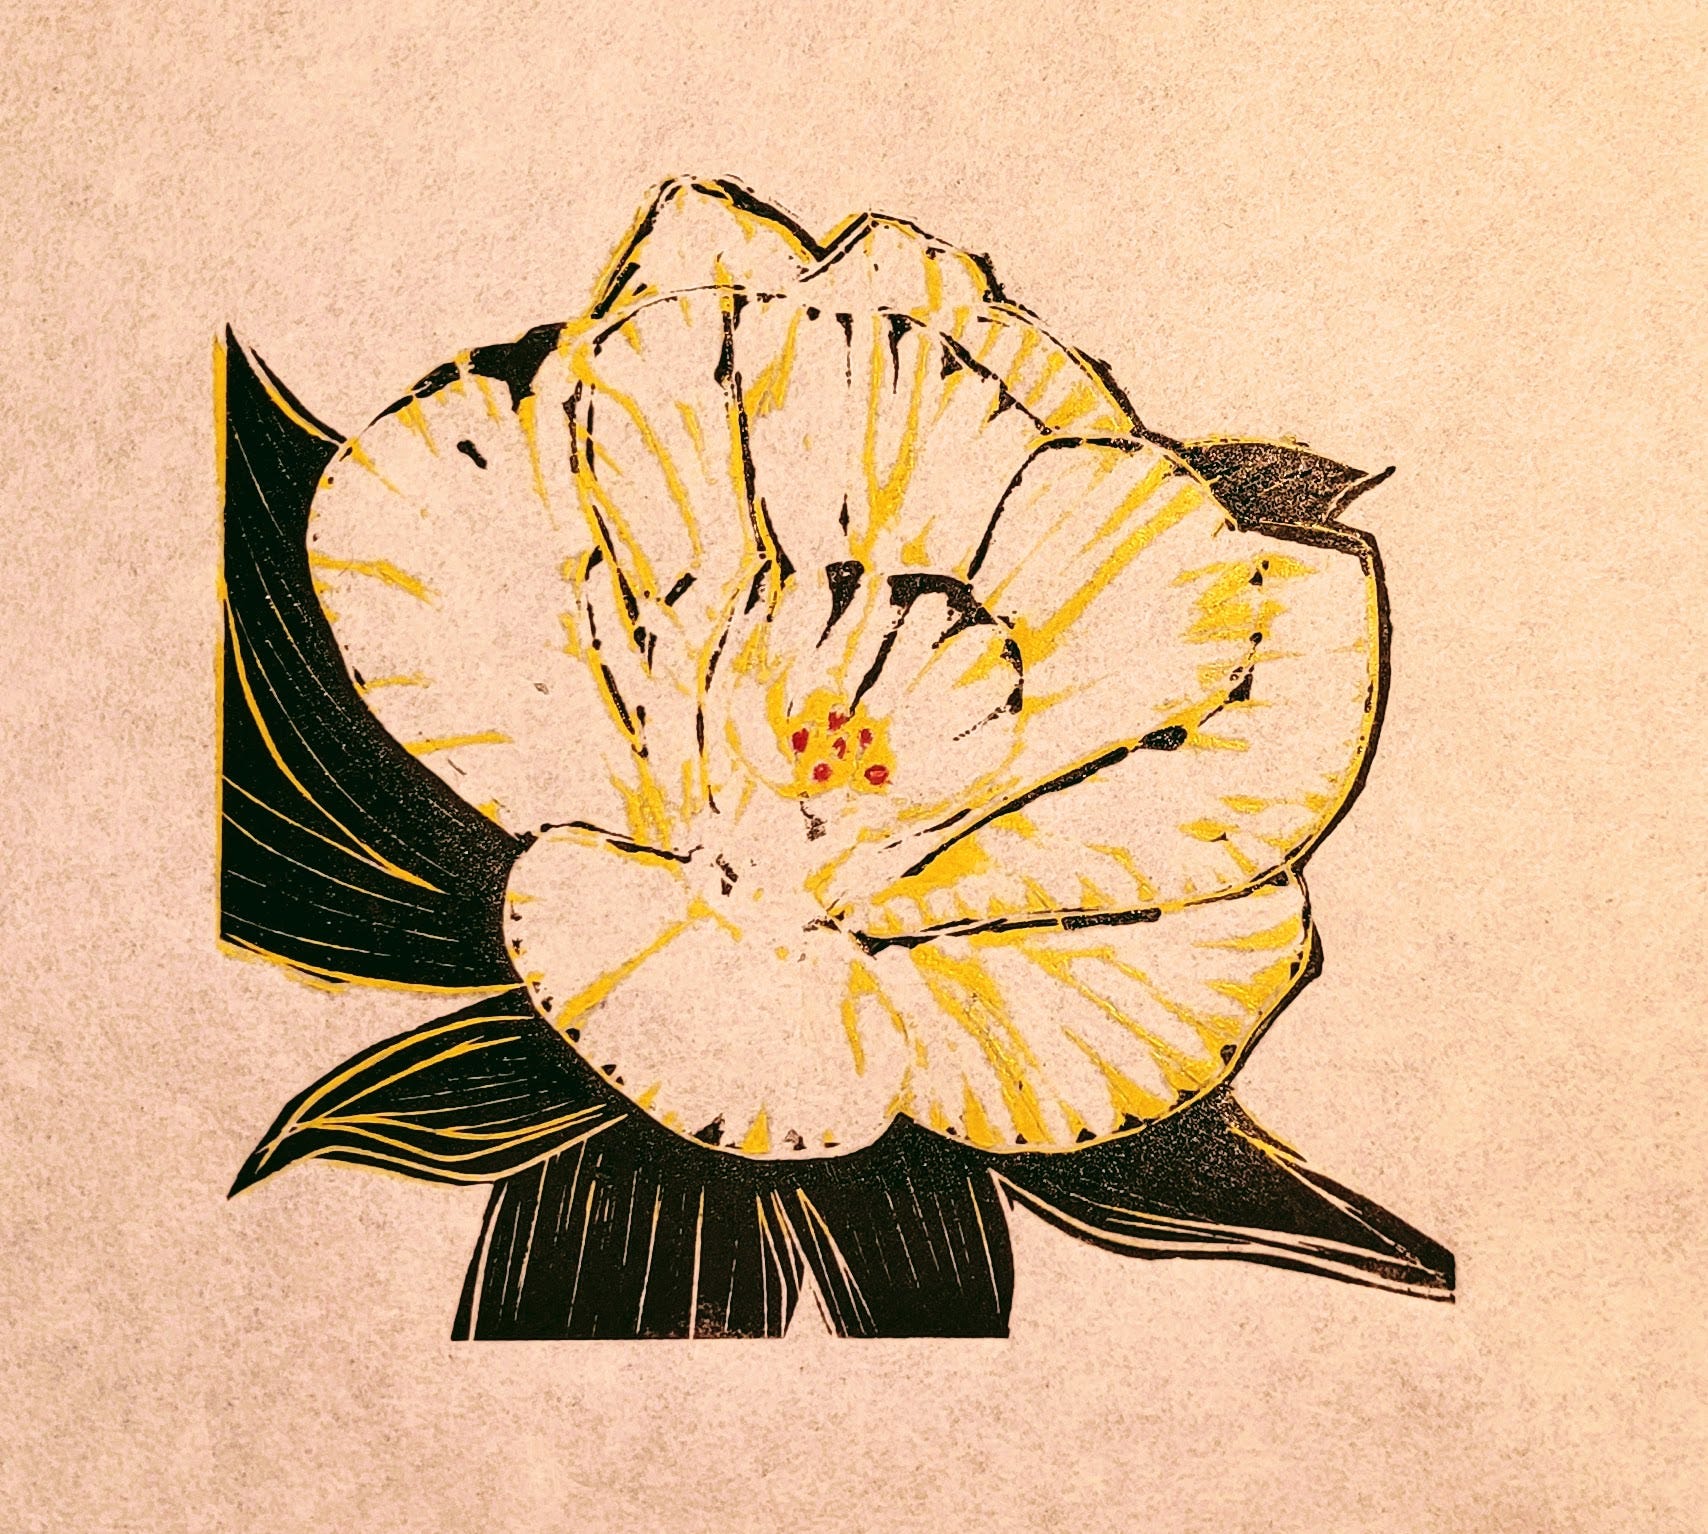
This is my first attempt at this method and I learnt a lot. I think I cut too much away before the first print. I wanted the flower to be White but with the choice of Yellow alongside it I’m not sure if that was a strong enough colour to bring out the texture of the petals as I had expected.
When cutting away the larger sections I always make sure I cut with the design, then any noise that gets picked up with the ink is inline with the drawing.
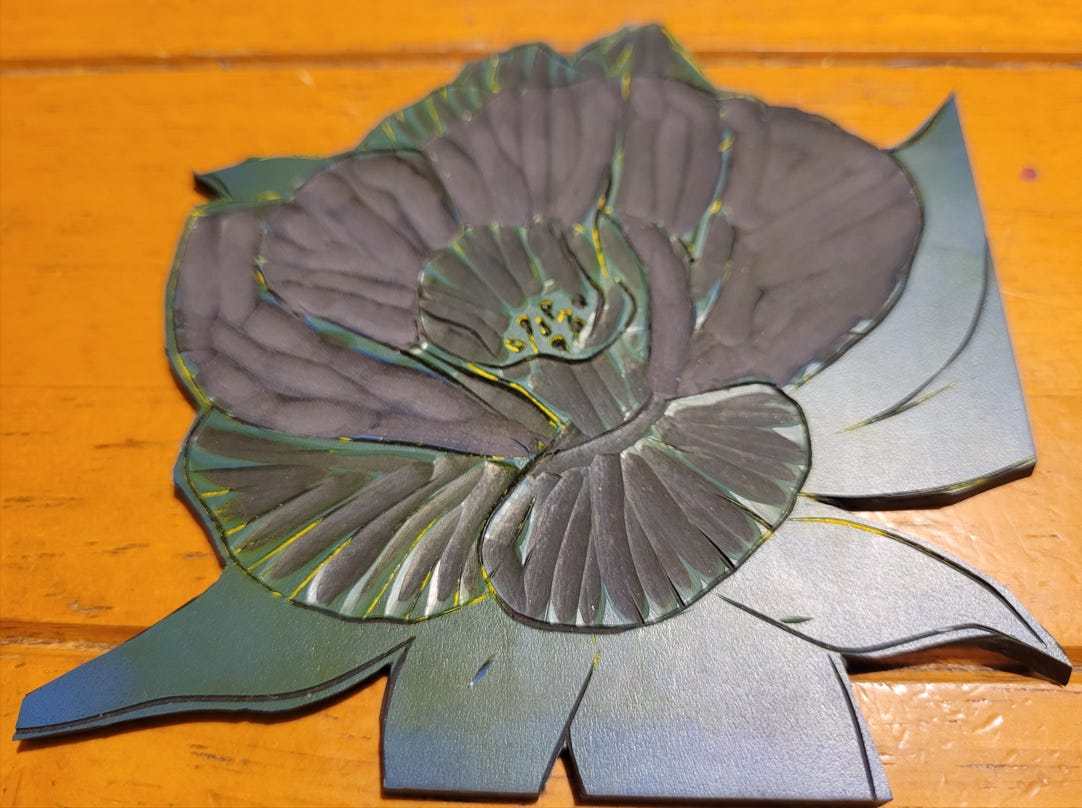
The paper I am using is 35gsm, which is pretty thin and the ink can come though the back of the paper. I use a sheet of tracing paper to prevent transferring ink on to the barren or spoon and to protect from my inky fingers.
This was only a two colour reduction print and I added the little red stamen on with a paintbrush afterwards. In the video you can see I had used masking tape to prevent inking this area with black.
I didn’t think I would enjoy the reduction printing but I am really looking forward to doing another one now and my little collection is growing quite quickly now so if you are interested in seeing what is for sale please check out my MadeMe site.